
Craig Pindell, Fine Art Photographer
All work copyright Craig Pindell, 2026
The Zone System for Small Format
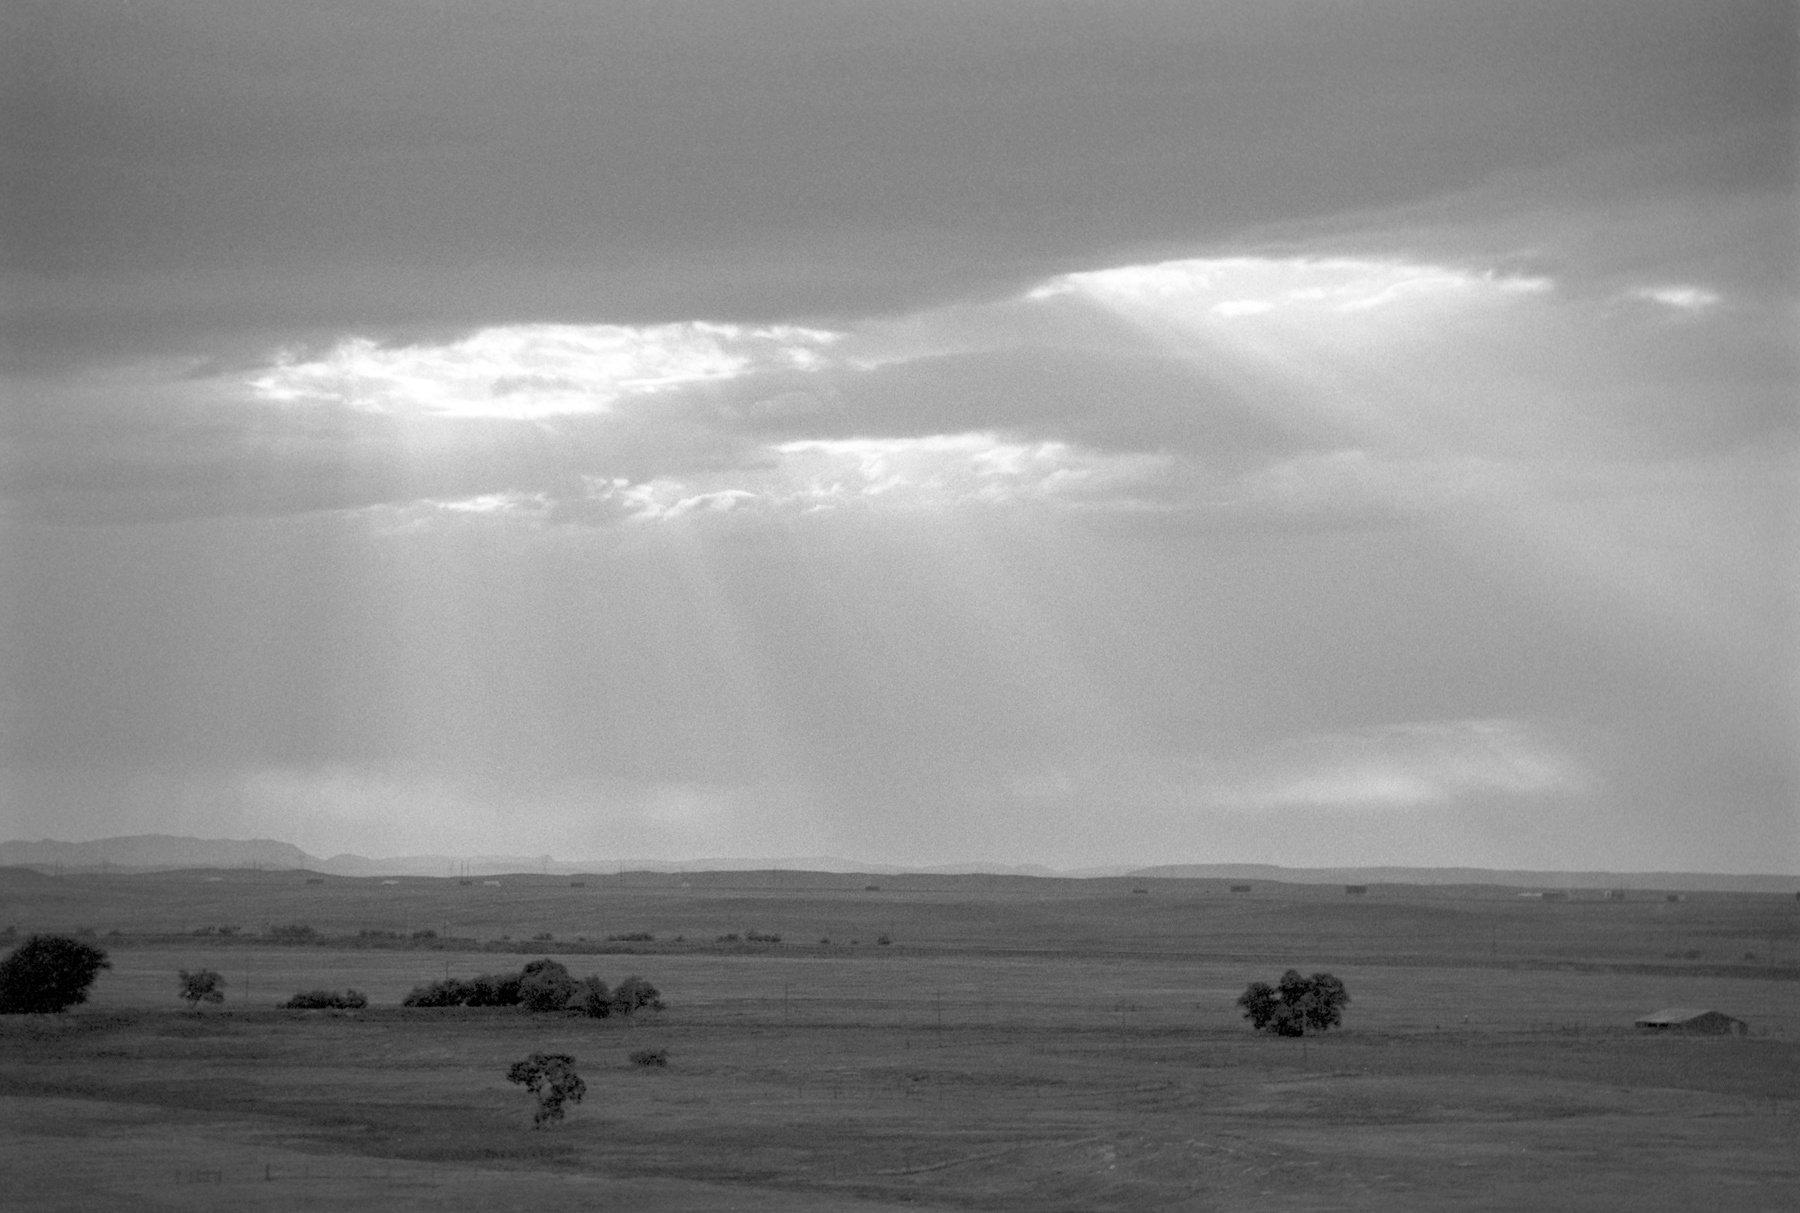
God Rays West of Cheyenne, Wyoming. Nikon FE, 200mm lens, Ilford HP5 film
I will start with I believe in the Zone
System, and I know that from the time I actually learned the real Zone
System, the methodology, and the principles that makes the system work,
the technical side of my photography has improved exponentially.
There are many truths in photography
that cannot be changed no matter how we try. For example - developer
before fixer.
Another example – f/11 is ½ the volume
of light of f/8. The ultimate photographic truth - Good Prints come from
good negatives.
It is a fact. Well exposed, well
developed negatives make a difference.
Before I go any further into this, let
me say I have heard and read the “Zone System Is Dead” fanatics work
very hard to convince photographers (especially new photographers, or
recent film photography experimenters) that there is no benefit to a
systemized approach to creating negatives.
My feeling is that every photographer
has the absolute right to use the processes or systems that allow them
to create what best represent what they want in the finished product.
For me, the Zone System works.
Better negatives make better prints.
Haphazard negatives are difficult to
print, and seldom lead to the best results.
Modern film stock is very forgiving.
Black and white film currently being
made is much less finicky and much more robust in terms of storage, of
development, and of poor exposure techniques.
Color negative film has always had wide
latitude for inaccurate exposure.
Color transparency film, is much less
forgiving, but also much less available that it was even just 20 years
ago.
This latitude allows the photographer
to set the camera to Auto and fire at will.
Many photographers feel that 1 or 2
“keepers” per exposed roll is a reasonable goal.
For many photographers, there is no
need to spend any more time than that on the technical side.
Film speed is selected by what is
printed on the label, or by recommendation from a trusted photographer.
The film is exposed and sent to the
nearest or cheapest processing lab.
The photographer affixes blame for poor
results on themselves, not knowing exactly what went wrong.
Large format photography works very
well for Zone System practitioners. Single sheets of film carefully
exposed and developed precisely for the desired range of tones on the
film.
The
Zone system is also not difficult for medium format photographers who
use camera systems with interchangeable backs, such as the Hasselblad
system, or the Mamiya RB/RZ system. One back can be for Normal
Development, another for N-1, N-2, etc.
On the other hand, the
Zone System has always been more challenging for 35mm users.
From my experience, the smaller the
negative, the more precise the technical aspect needs to be.
In other words, the format that would
benefit most from the Zone System is the format that is the most
challenging to use with the Zone System.
Camera
I find 35 mm to be lightweight, and
much more nimble than view cameras. There are times when it is the
perfect equipment for the situation. These times are no reason to
compromise the quality of your work. I would argue the smaller the
format, the greater the reward for the effort to improve the technical
side of the creative process.
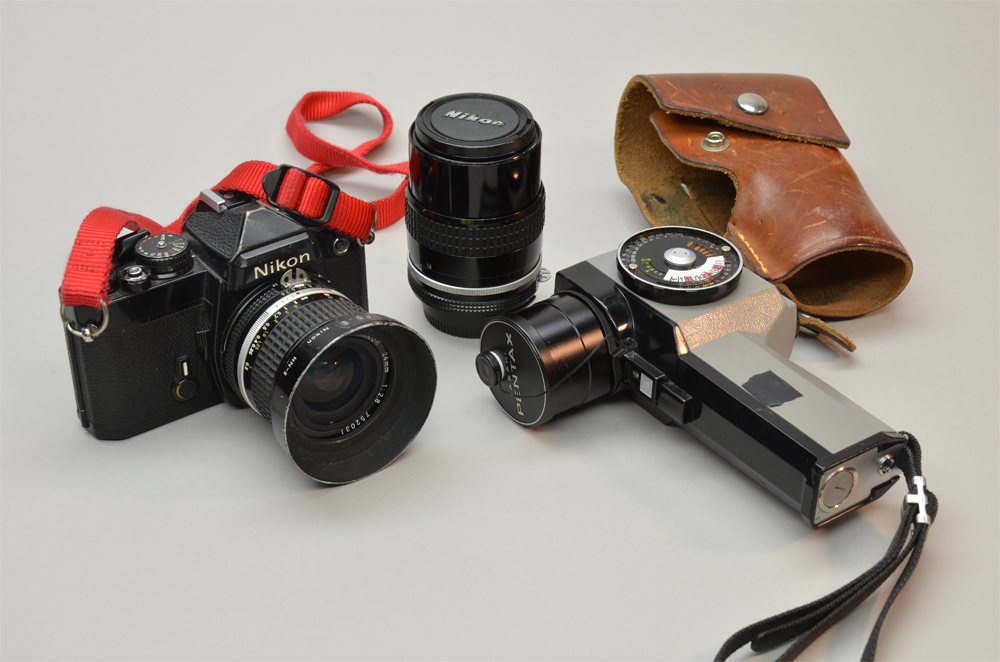
My preference is to only carry one or
two cameras. I have used my 35mm cameras for many years, so they are all
comfortable and familiar.
When shooting 35mm, I don’t usually
carry more than a few lenses. Of course, the number of lenses and number
of bodies depends on the situation I expect to photograph.
It is important for the cameras to have
a manual mode.
If you are not adjusting the exposure
to match what you meter, this system will not work well for you.
Film
For me, fewer mental mistakes are made
when I keep the variables to a minimum.
This means I usually only use one film
stock at a time, sometimes two if I am not sure what lightning
conditions I may encounter.
Also, I
prefer to shoot short rolls.
Back in the day, it was possible to buy
12 exposure rolls.
Unfortunately, that is no longer the
case.
The shortest seems to be 24 exposure
rolls.
When you meter and expose carefully, 24
exposures can take an eternity to shoot.
And, when you make a few exposures
requiring an N-1 development, you can be sure the next scene you find
will require an N+1 development.
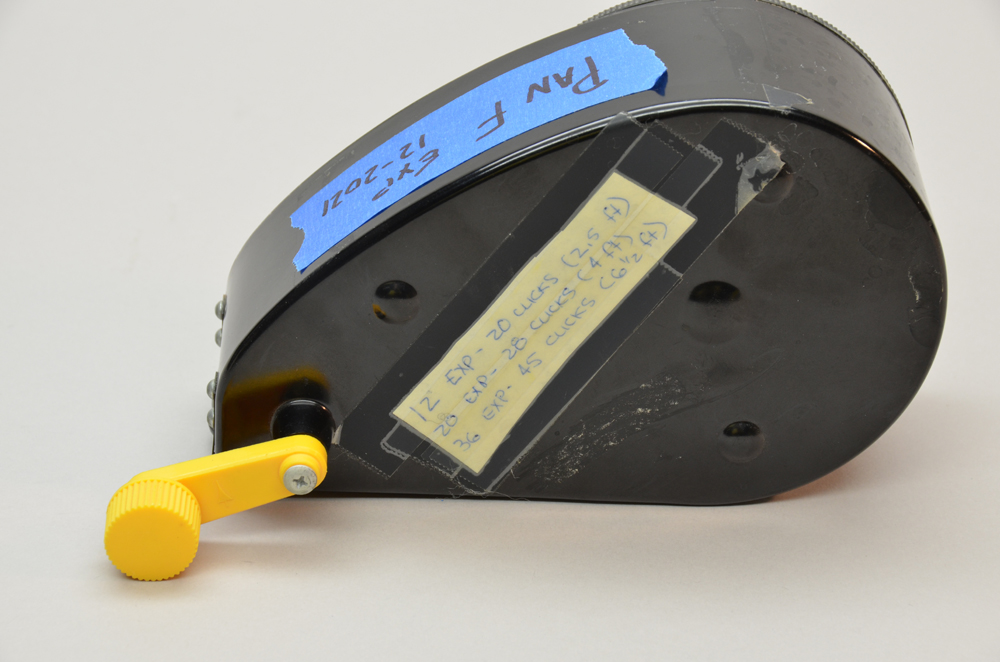
Over time, I have sorted out how to make short rolls with my loader. I have had this same loader for many years. The roll length guide was developed by trial and error, but still works fine.
Roll Lengths
Using my system as though I were shooting large format, my ideal roll is 6 exposures. For this, I bulk load film, load several canisters with 6 exposure rolls. I then expose 1 roll per scene. Similar to large format and the 1 sheet per scene philosophy. This allows me to mark on each canister which development scheme it will recieve. (N+1, N, N-1, etc) This allows me to carry just one camera body, and a few lenses.
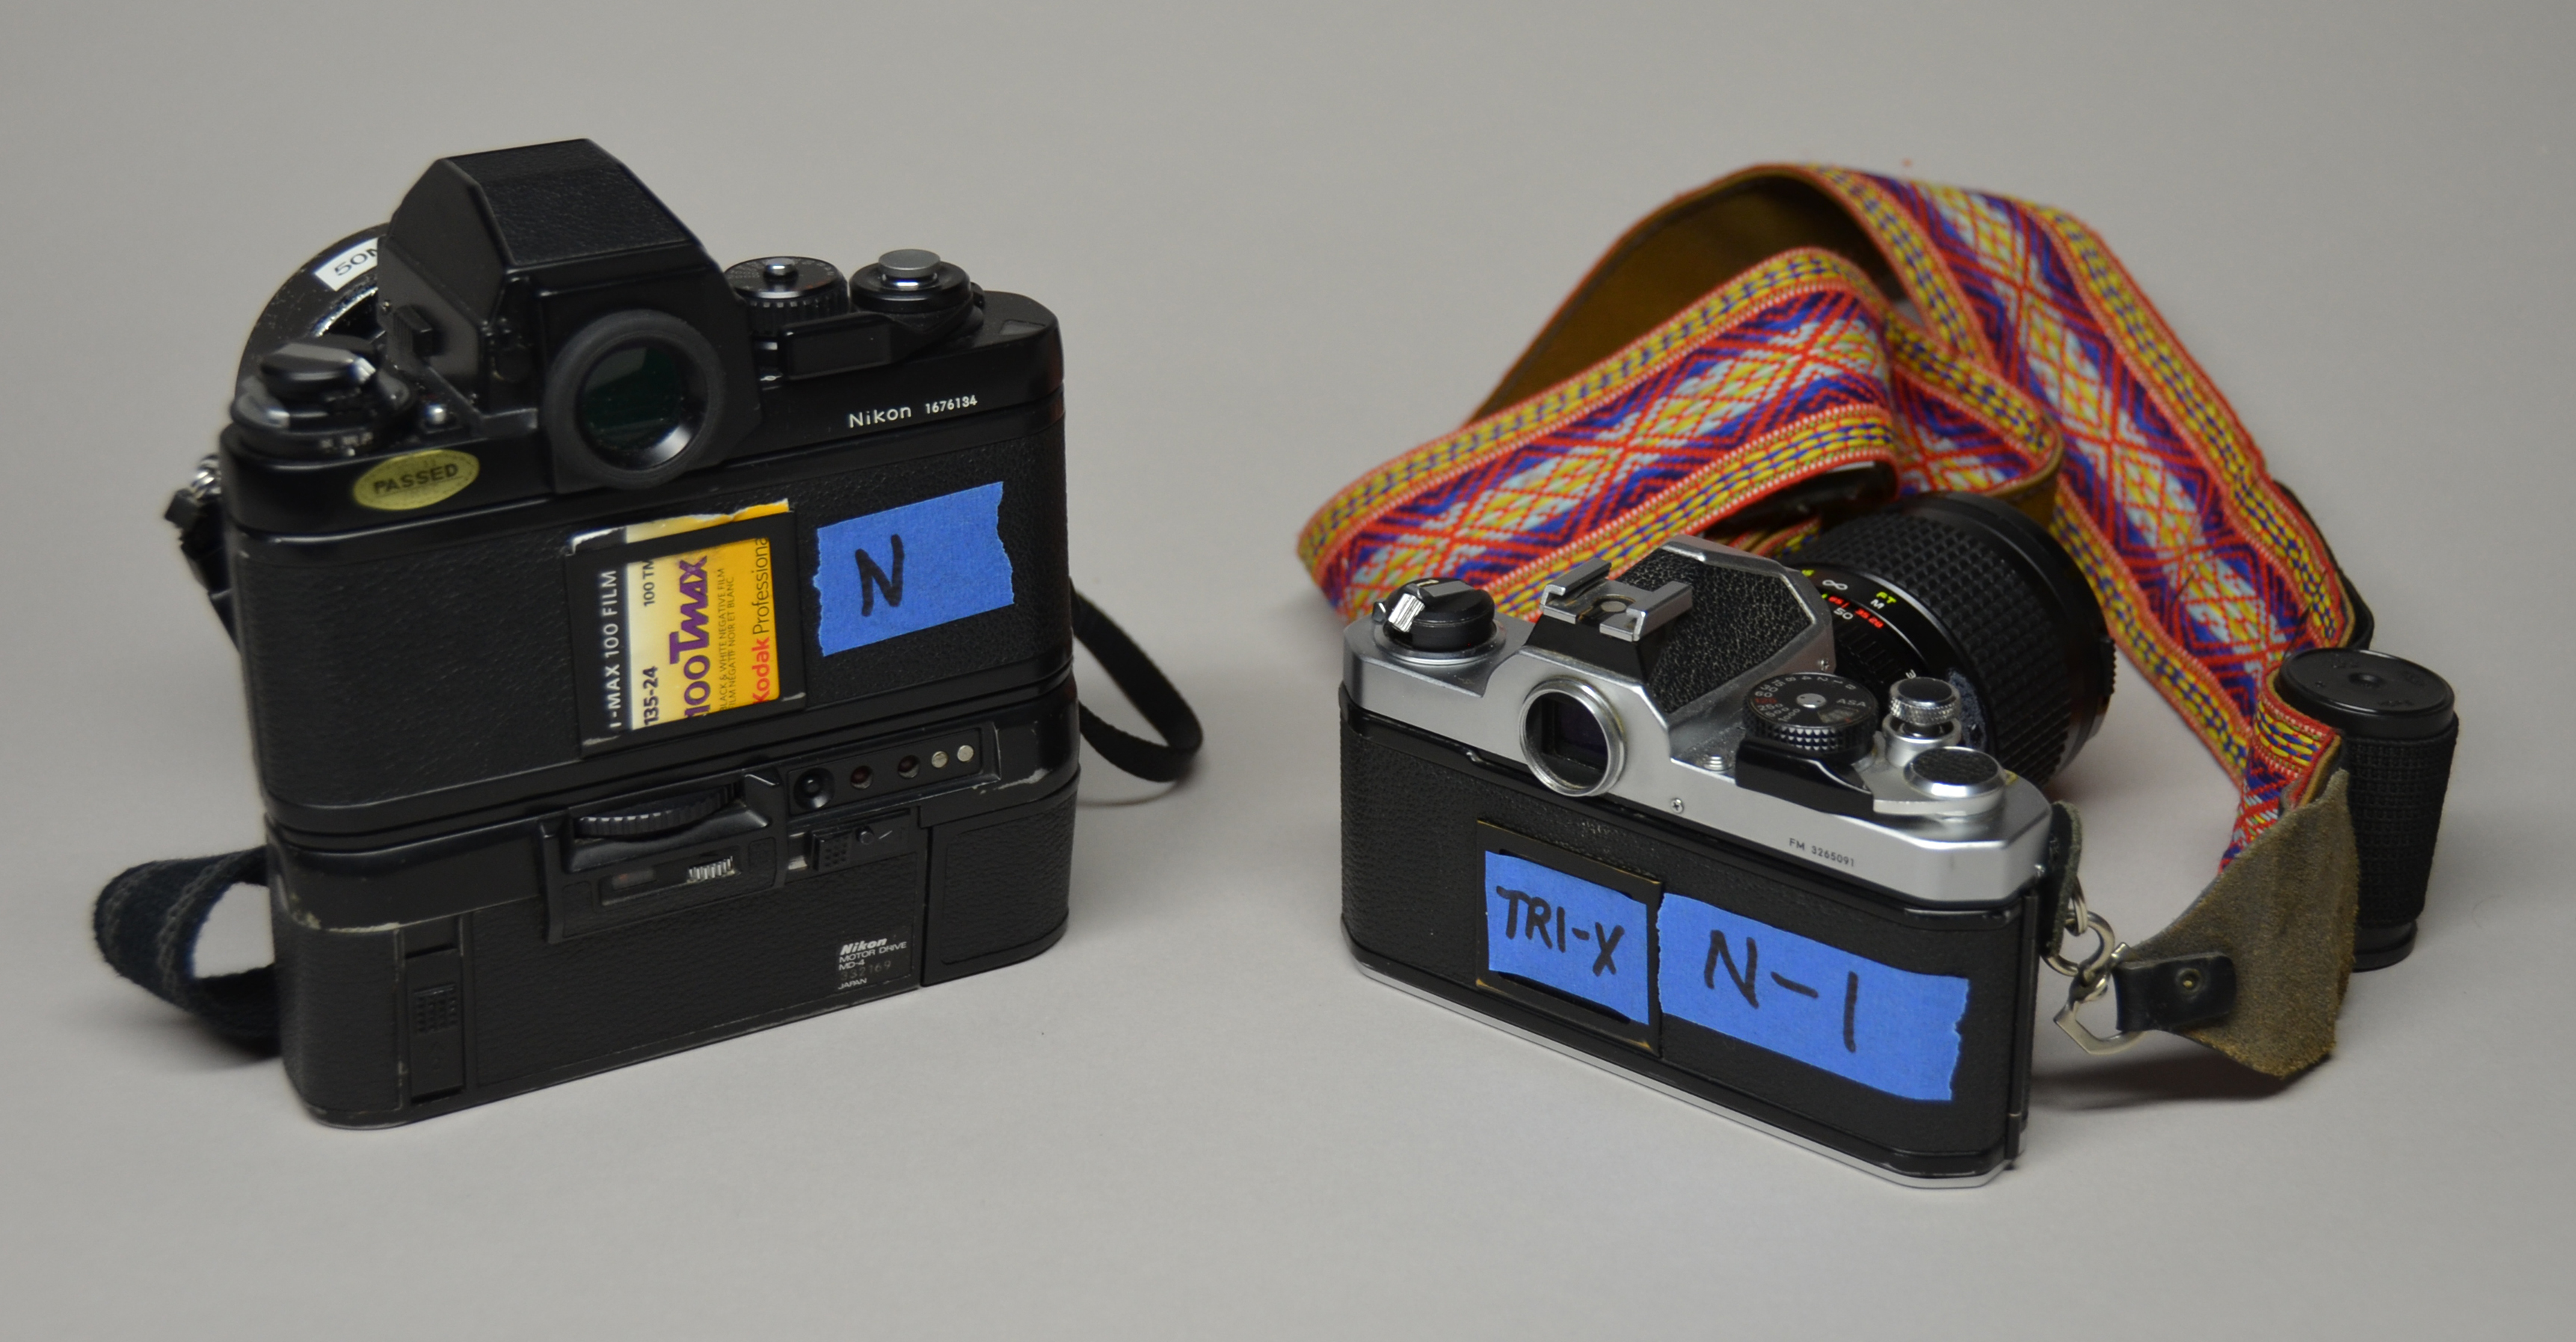
Sometimes it isn't practical to use the one roll per scene system. An alternative is to use longer rolls and multiple camera bodies. For this I use a different camera for each development scheme. One camera for N, another for N-1, if the situation requires, etc. When using this system, longer rolls work fine, This system my be the best choice when working in a dusty environment, for example, where opening the camera frequently can cause problems. In this system, I also will load some 12 exposure rolls as well, to use when I don't expect to be making a lot of exposures.

When I am not bulk loading my film
cassettes, I buy 24 exposure rolls, and cut them to 12 exposures, using
the original cassette for the half of the roll and an after-market
cassette for the other half. These can even be cut in half again, but
for me this is not practical because of the loss of film due to the
leader on each roll.
I put a small piece of masking tape on
each film cassette, showing the number of exposures on the roll, and so
I can mark which development scheme the roll is to receive, and I can
mark the roll number on it.
This helps me keep my reusable
cassettes reusable by not having conflicting information written on the
cassette.
When carrying multiple bodies, I also compromise by not carrying a body for each development scheme (i.e. a body for N and a body for N-1, etc.) This could require three or four camera bodies for each film stock you are using. If I carry one body for N and another body for N-2, when I photograph a scene that requires N-1, I expose it on the N-2 roll, and give the scene a bit more exposure. This adds more exposure to the shadows, but still does not overexpose the highlights.
I almost never use N+ development for 35mm. For my eye, it adds grain and diminishes highlight detail. I find that I can print with a higher contrast paper and compensate for the loss of contrast. If even more contrast is required, I can selenium tone the negative as well.
Exposing Film:
Proper metering and exposure are
important.
Often, metering will take longer than
making the exposure.
This requires a bit of discipline.
For me it works best with a 1 degree
spot meter.
I have known photographers who used a
15 degree meter and had excellent results.
If you can meter to your satisfaction
using the meter in the camera, by all means do that.
I have not had good luck doing that.
It is important to be able to measure
the light in the shadows and place those shadows on the proper Zone.
Then measure the Highlight and
determine the correct development scheme for the film.
I have a visual aid on my spot meter
that helps me do this without having to do any math.
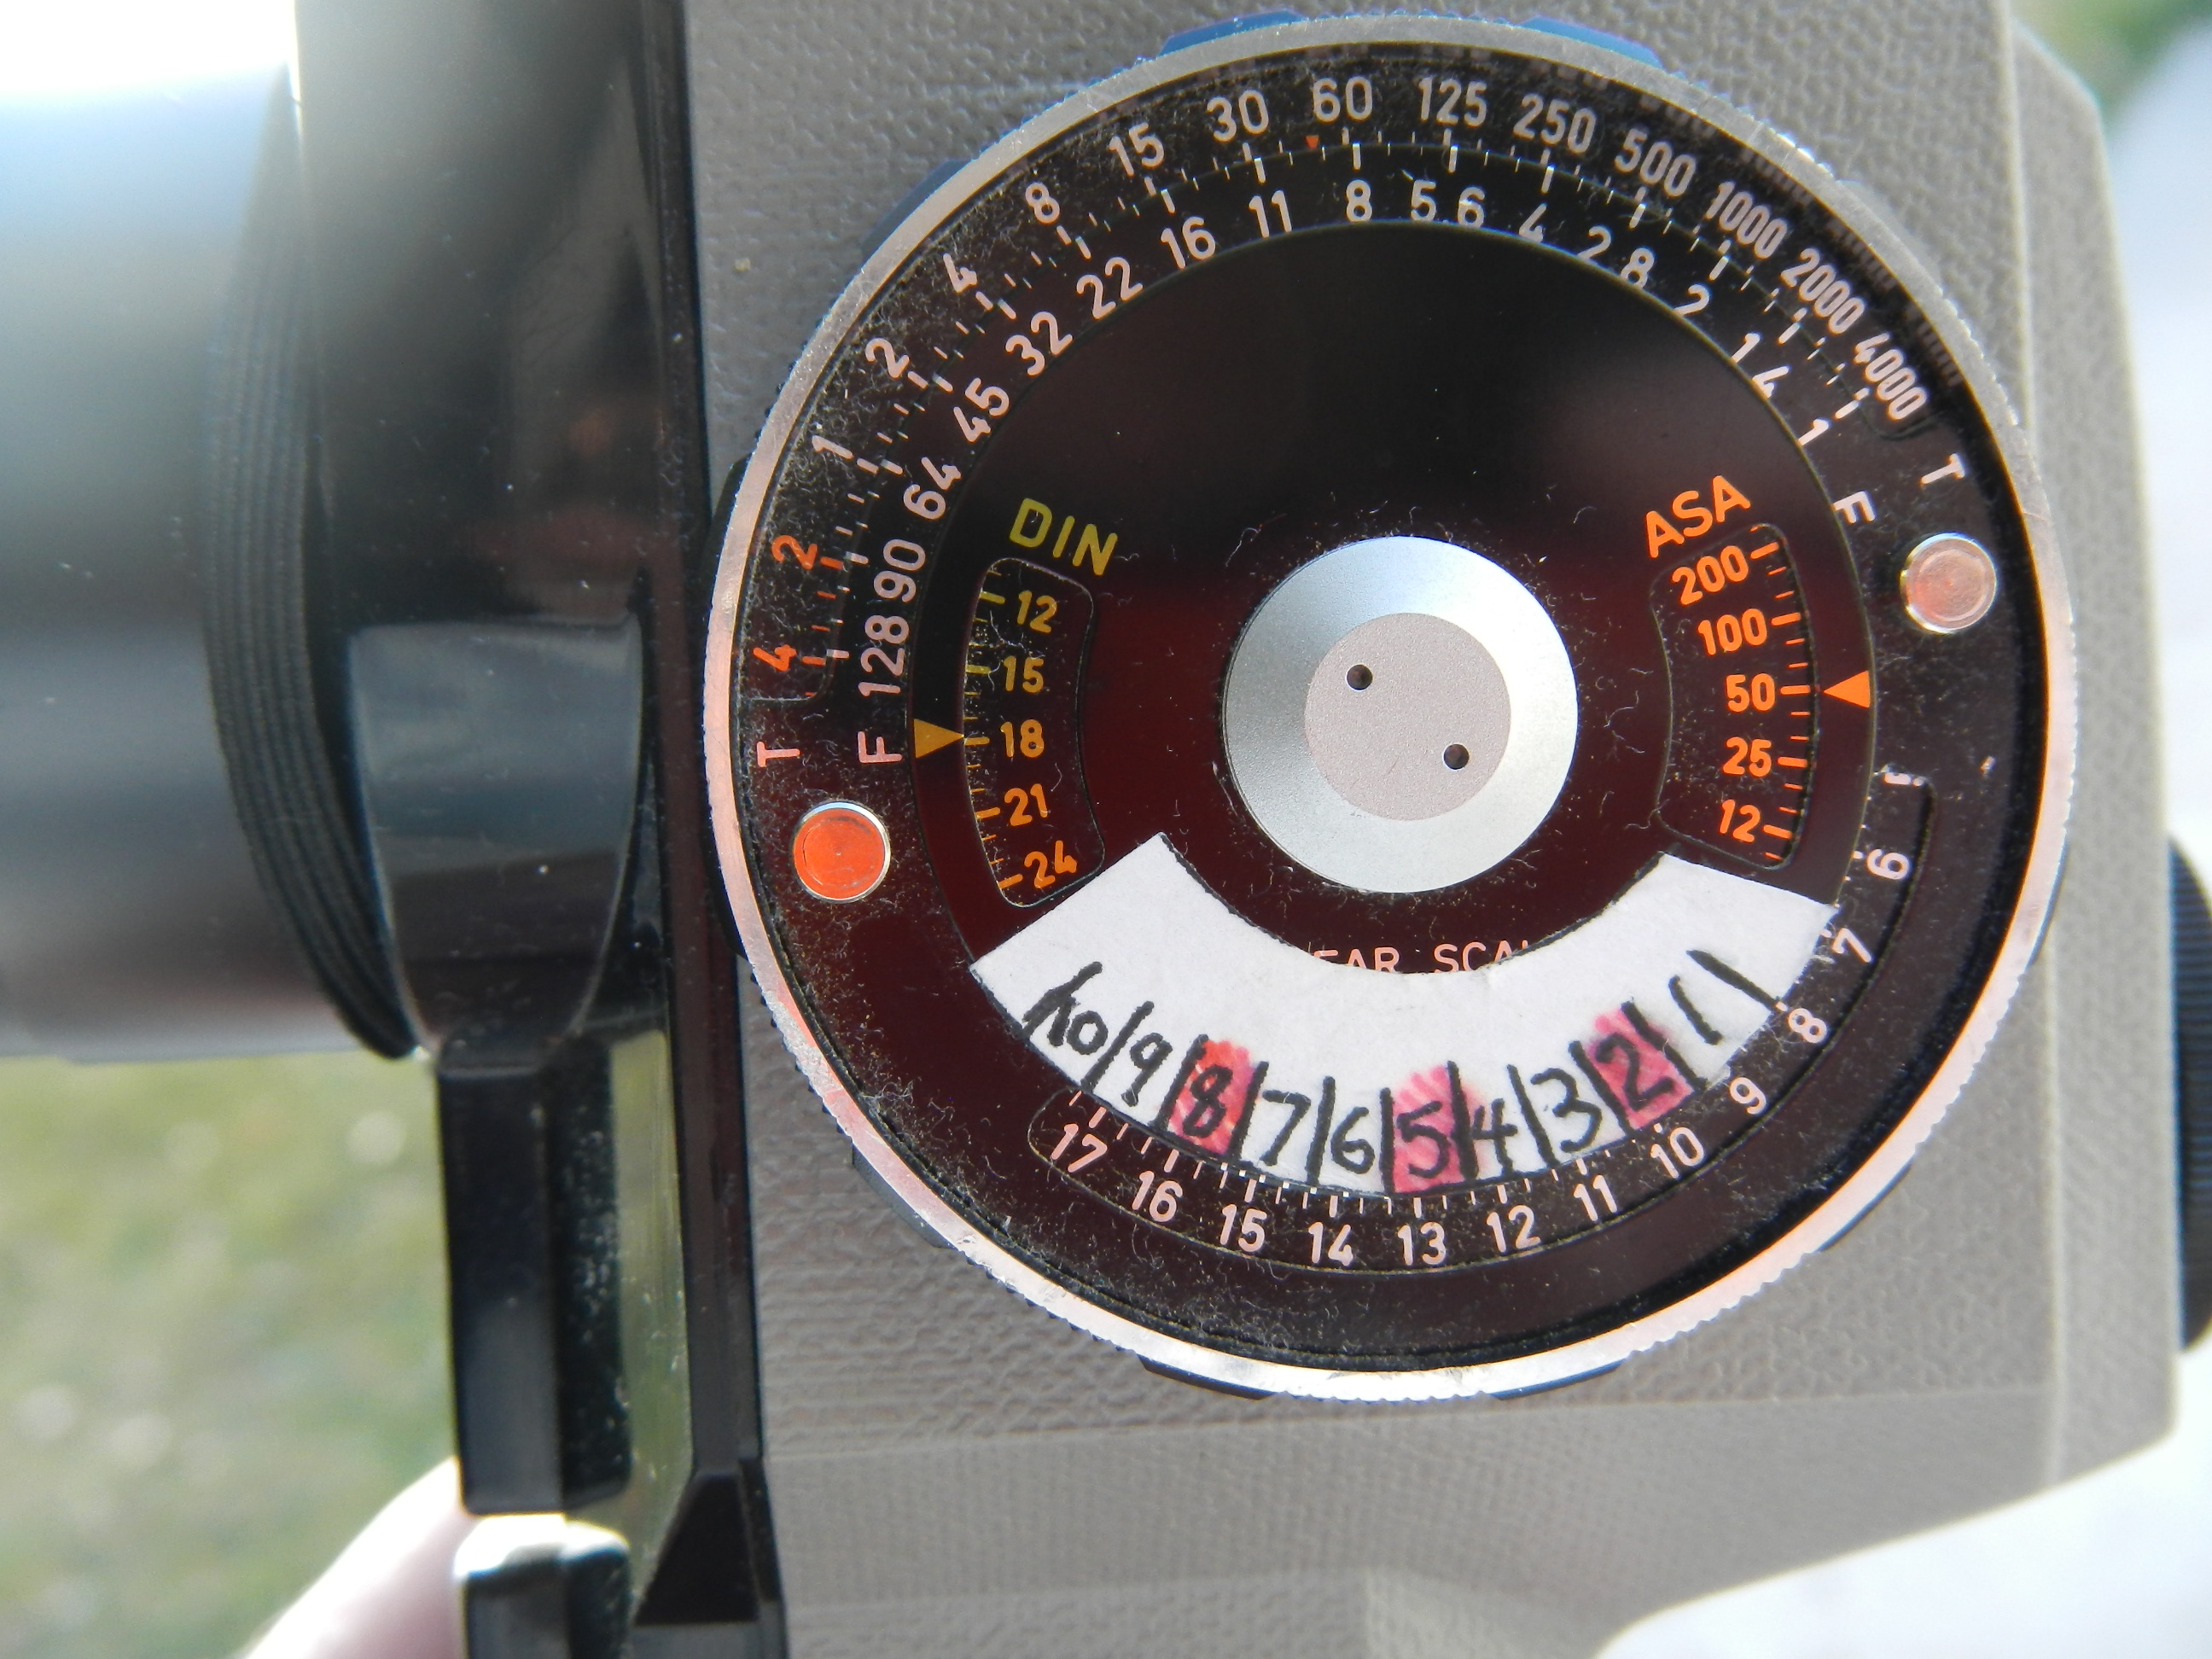
One of the reasons I use 6 exposure rolls, rather than 1 exposure rolls, is to allow me to bracket exposures if needed. Without a great deal of experience, it is best to rely on a good light meter to determine the correct exposure, and the correct development.
For me, especially with small format, the key is the placement of the shadows. For my work, the shadows are best at Zone III !/2 To IV. This assures adequate exposure and place the shadows in the area of the film density curve to allow for detail separation in the shadows. Muddy or empty shadows detract from the image. Placement of the shadows determines the exposure settings on the camera. once this is determined, meter the highlights and find which Zone they fall in. Highlights with detail should fall on Zone VII 1/2. Brighter highlights may fall on Zone VIII. This determines the development.
If the meter indicates the Highlights will fall on Zone VIII 1/2, this indicates the film should receive N-1 development. If the highlights fall at Zone VI 1/2, this indicates the film should receive N+1 development. I try not to give small format negatives plus development, and never more than N+1, but sometimes it is required. The more you use this process, the easier it becomes.
If you are using the 1 short roll per scene system, it is easy to set up the camera, then meter the scene. If you are using the multiple camera system, you have to meter the scene prior to setting up the camera (This assumes you use a tripod and spend time precisely composing.) If you don't use a tripod, you will usually meter the scene first.
Development:
When I am ready to develop my film, I
group all of the different schemes together.
All of the N, all of the N-1, all of
the N-2, etc. If a roll is 24 exposures, I load it on its own reel.
For 6 exposure rolls, I load 3 on a
reel, taping the rolls end to end.
(Side
note: I use 3M vinyl electrical tape for taping film in the cassettes,
and for taping the films end to end for processing. This tape has less
static discharge than most, and does not come undone in the development
process)
As a general rule of thumb, I seldom use the film manufacturers suggested development as my Normal development time and temperature. I find the best development time through trial and error, for the best highlight detail on a normal scene (as indicated by the spot meter as the highlight being at Zone VII 1/2 to Zone VIII). For N+1, I add 10% development time. N-1 is the normal development time minus 10%. N-2 is the N-1 time, minus 10%. This is a starting point. It works for me, but you might find a different time works better for you.
Film Speed:
Proper exposure requires you know the
actual speed for a film stock/ developer combination.
This can be determined by testing.
I have seen countless different methods
to test for film speed, and I am sure there are those who can point out
which test is the best. The
correct speed is the speed that records shadow detail at Zone III 1/2 to
Zone IV.
I don’t know of any way to spoil
photography faster that to reduce it to an exercise of testing materials.
A true advantage to being able to
bracket exposures is that you do not have to know the exact film speed
to have the perfect exposure.
Assuming you are using 6 exposure
rolls, and you bracket ½ stop for each exposure, with what you assume to
be 100 ISO film, you can bracket from EI 50 to EI 320.
As you utilize this system, you can
work out that if your “perfect” exposure is consistently the EI 200
exposure, your real film speed is ISO 200. The most accurate testing is
in actual conditions with the equipment you will actually be using.
Evaluation:
It is important to make a proper contact print of the images for evaluation. I make contact prints on variable contrast RC paper, using a grade 1 filter. The proper contact print exposure is when the print is dark enough that the sprocket holes are barely visible. If you cannot see the sprocket holes, the print is too dark and it will be impossible to determine the best negative. Once you determine your correct exposure for contact sheets, it will remain constant for that paper and developer combination.
Having a standardized contact printing time
speeds up the contact process, but most importantly it provides for more
accurate image evaluation from the contact sheets. When the contact print
is correctly exposed I can tell which negative contains the proper
detail in the shadows and has detail in the highlights.
When the negative contains this
information, it will print well.
A Note on Notes:
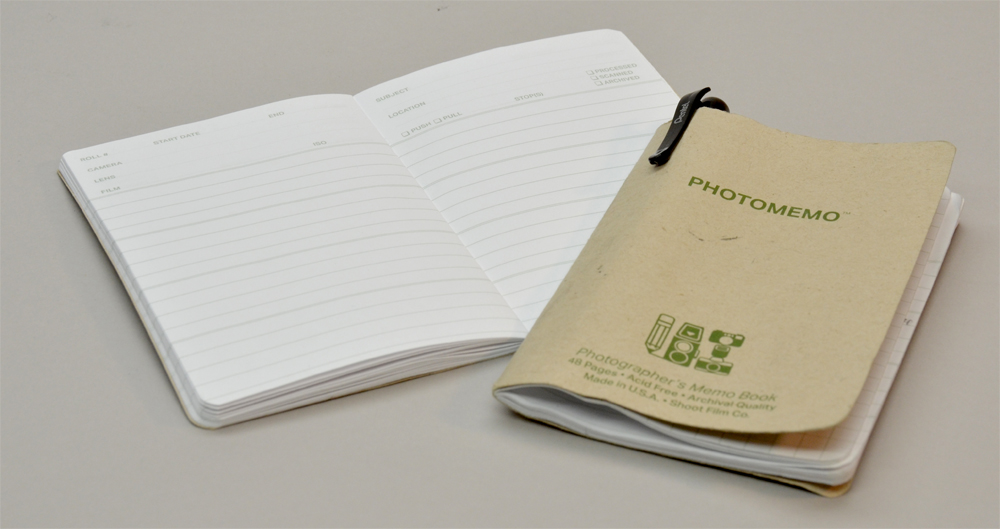
For me, note taking is an important part of the learning process. I have known many brilliant photographers who take almost no notes. I have created myself various sheets for recording data as I shoot. When I am shooting 35 mm, I do not take the same detailed notes that I do when shooting sheet film. I usually use a Photo Memo book from ShootFilmCo and record location, time, date, and development scheme to keep the data associated with the roll number I give each film.
I
encourage you to take notes to help you learn, but after all, we all do this
to make photographs, not to make notes.
As you work with this system, you will sort out what works best
for you. Some photographers make exhaustive notes in the field, but
record nothing in the darkroom.
Others take minimal notes in the field, and record every detail
in the darkroom.
Some go
overboard one way or the other.
Do what works best for you and what allows you to continuously
improve. Most importantly,
photography is to bring joy, and not to be tedious.